I found this craft from a site called Craftaholics Anonymous. The link is right here below.
Craftaholics Anonymous - Halloween Fabric Banner
You can subscribe to their wonderful site. You can purchase the material for this craft from the site which I wanted to do, but unfortunately they were out of stock. Check em' out, they have great stuff. I really loved the look of this so even though I couldn't get the materials from them I did it anyway. I purchased a small lot of fat quarters from ebay. I got some great material for less than $10 and I still have plenty left over.
According to the tutorial, you need about a yard total of Halloween fabric and 90" of rope. I used kitchen string since that's all the "rope" I had on hand and it worked out great. If you have a specific place in the house you want this (doorway, entertainment center, etc) I suggest you measure it out first in case you want to make it longer. If you do make it longer, keep in mind you'll need more material.

Cut your fabric into 1″x 9″ strips which will be approximately 140 strips. Since I wasn't lucky enough to get some from craftaholics I had to do this all myself. It took quite some time because Sabrina wanted to "help" by sitting on the fabric as I measured with a yard stick. I gave her a pencil like mommy had and had her draw on the yardstick for me. She had fun because she thought she was really helping me measure. Just make sure you do all the cutting on a counter top so they don't try to help with the dangerous part (if you have kids as small as mine).


How to knot each strip: fold your fabric strip in half so it measures 1″ x 4.5". Put your finger in the loop that is created and place under the rope. You will then fold the 2 ends of the strip over the rope (towards you) and through the loop, on the right side, that your finger is in. Pull the ends through the loop and pull it tight. Push the knots together so that you cannot see the rope between the knots. Repeat the knotting process until you're just about to the end of the rope.


Since I used kitchen string instead of rope with fray glue, I tied a knot next to the last piece of fabric and another know at the very end of the string.

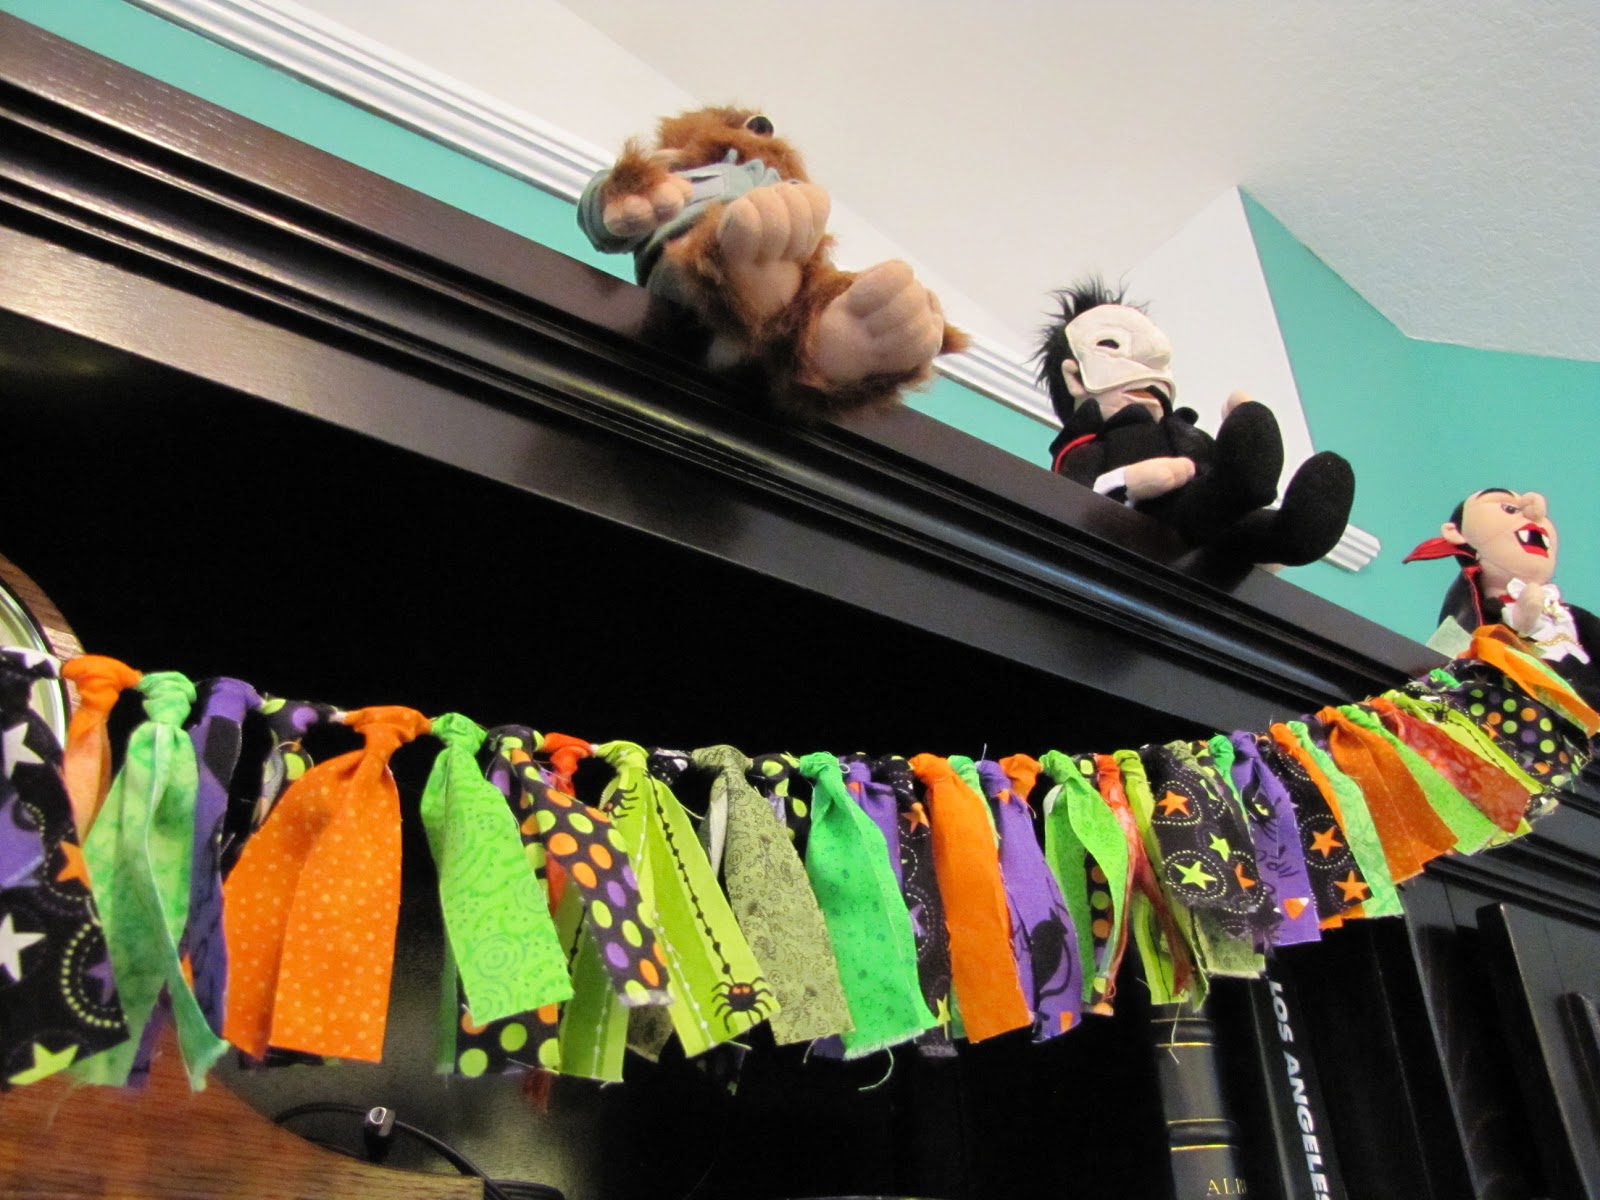
Then I simply hung it up. I LOVE the way it looks and Sabrina totally thinks she made it. Fun fun fun. Thanks Craftaholics Anonymous!

No comments:
Post a Comment